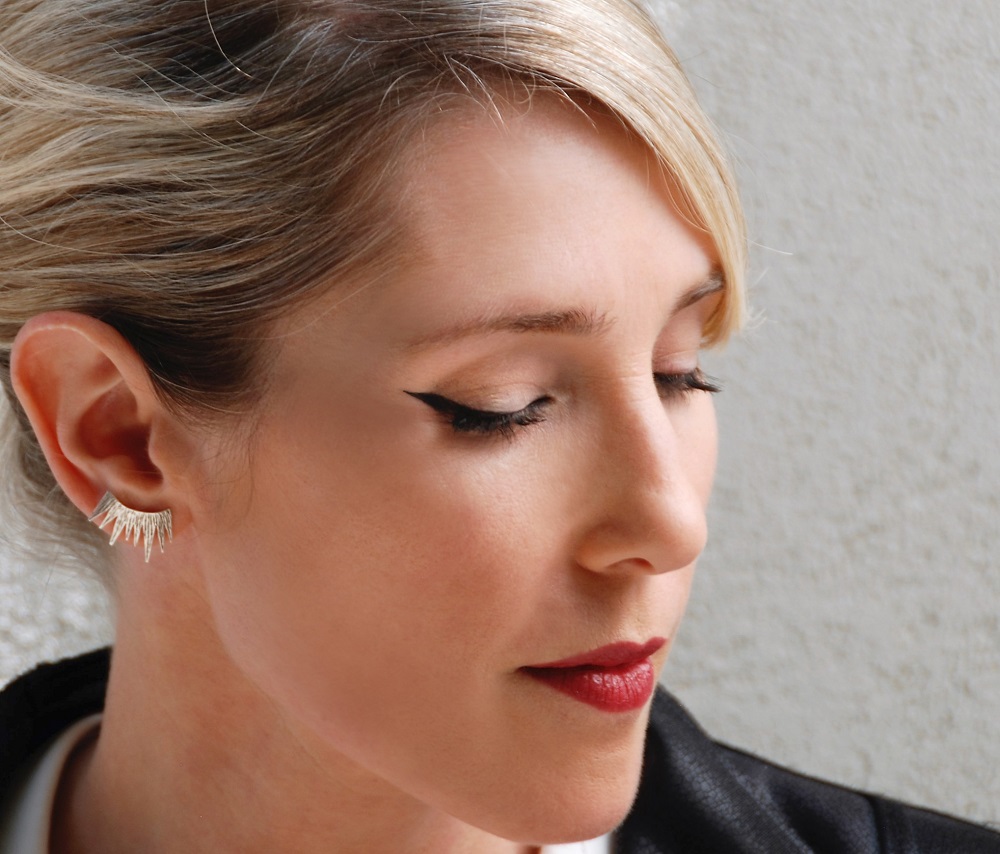
I love the cat eye makeup style –after all, it was Amy Winehouse’s iconic eye makeup, which was exciting and dramatic. This style is all about creating beautiful winged liner that is all about getting your eyes looking more dramatic and with a lot of sex appeal. In this cat eye makeup tutorial, I put together the method for getting this adorable young and vibrant look. My style contains a few simple ideas to create this sexy look:
Creating winged liner that would end with a pointed flick out.
Adding white eye pencil to make the eye look wider.
Using bold interior angle to complete this look.
Giving a touch of natural color under the eyes.
Now, go ahead and try these steps to become your own star! I am sure you will have fun:
1. Start with an eye primer:
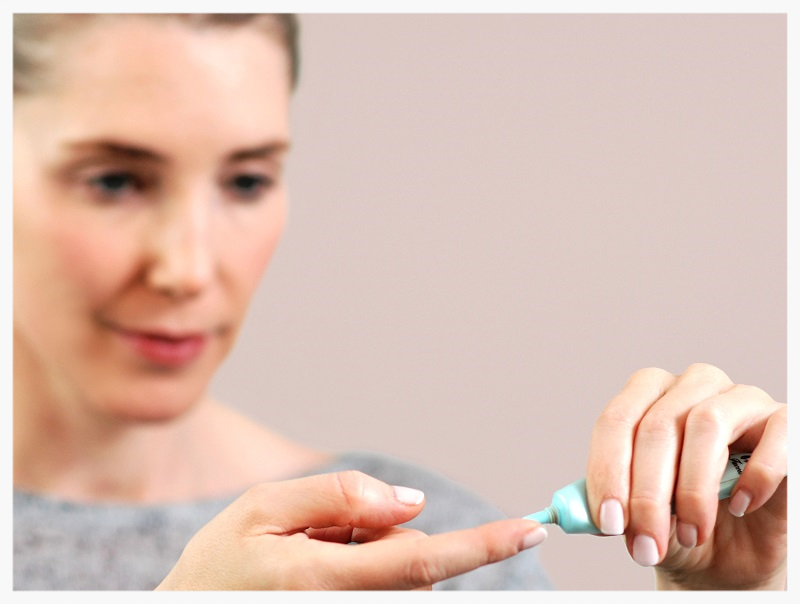
Eye primer will help fix the makeup and will keep the eyelid very clean and not greasy. Use your finger to dab a small amount on your eyelid, and gently tap (but don’t rub) the primer into your skin (I used Two faced shadow insurance eye primer). Start at the center of your lid and blend outwards and upwards. Allow it to absorb and dry (about 20 seconds) and then apply your eye makeup as normal. If it appears cakey or clumpy, you used too much and should use a little less for the next application.
2. Choose the right brush:
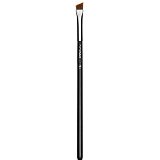
It is very important to control your line. Choose a brush with hard and short bristles so you can really make a beautiful and accurate line with it.
I used mac's brush # 263. Its bristles are just the right length and helped me to get the perfect lines.
3. Streach your eye upward:
This cat eye makeup tutorial is all about the winged eyeliner and it should be as accurate as can be. In order to do so, with your hand, stretch the eye a little bit out and up. This will stretch the skin and you will be able to make a straight clean job.
4. Start lining...
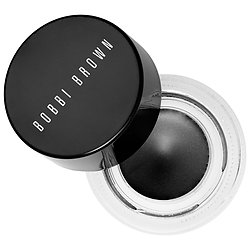
One of the greatest tips (and probably the most important one) in this tutorial is to start drawing the line from the lower outer eye corner. This will help you control the height of your line and its direction. Drawing the line in the right direction requires very little effort - just lead the brush in a straight line from the lower lashes upward and the line will come up to the right height naturally (Bobbi Brown's gel eyeliner is perfect for the job). After you begin to apply makeup from the right starting place you will see how easy it is to get exactly the line you want.
5. Time to complete your eye liner:
The final shape you are aiming for in this cat eye makeup tutorial is a triangle. In order to create a beautiful triangle shape, you must connect the tip of the line you just drew to the upper lash line. With your brush, draw a line back in a diagonal direction toward your eye line. Color in between the gaps.
6. Do not forget the interior part of the lash line:
Don’t make the mistake of thinking you are finished after drawing the winged line! An important part of the cat eye style includes adding a bold interior angle. Using your liner brush and liner gel, start lining the inner part of the upper lash line. Start from the inner corner, and head in an outward direction, and line gently only over one third of the lash line. Keep the line as thin as you can, and as close as you can to the lash line.
7. Color your inner lids:
Apply white pencil to the lower inner eye area.
8. Line your lower lash line to add some more drama:
With a flat brush, swipe a natural color eyeshadow (grey or brown work best) over your lower eye lines on the roots of your lashes.
9. Complete the look with lots of mascara:
A golden tip for the cat's eye look is using a generous amount of mascara. The mascara color should be black or one tone darker from the liner. The mascara really refines the liner look and harmoniously integrates everything together. For this cat eye makeup tutorial, I used the excellent Bad gal by benefit mascara.
Good luck!
To create a perfect cat eye makeup I am using the following products:
Related Pages:


